

Have you ever noticed a faint ghost image lingering on your TV or phone screen?
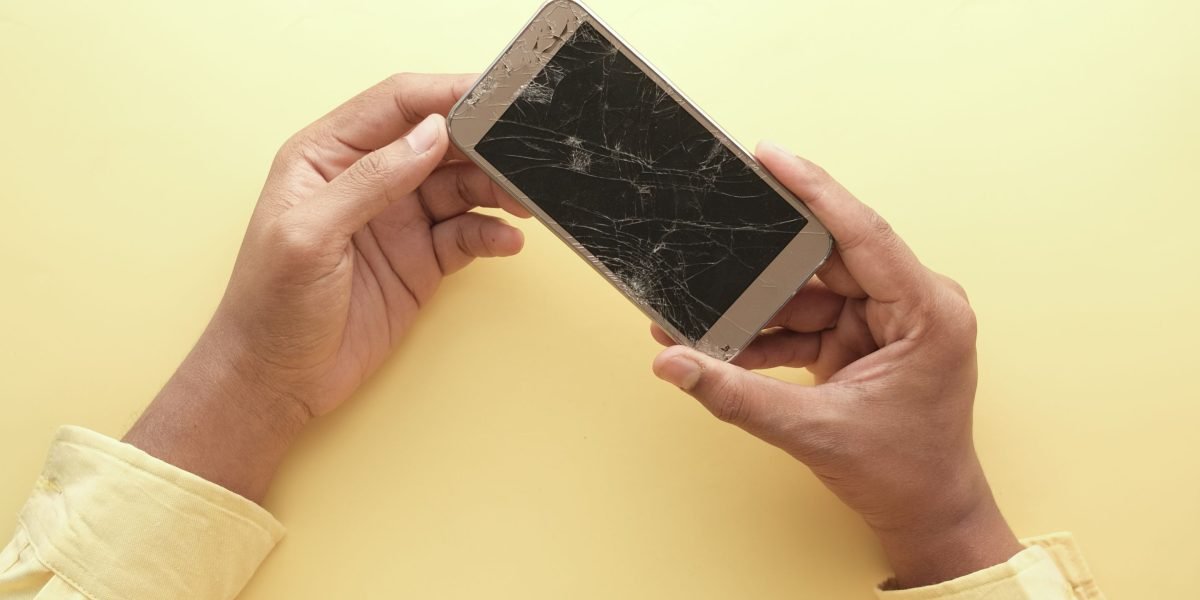
That shadow of a news ticker or app icon might be screen burn-in. It is a growing problem for OLED TVs, monitors, and smartphones.
Screen burn-in happens when static images stay on a display for too long. According to the Wikipedia article on Screen burn-in, it is a permanent discoloration of areas on a screen. The pixels age unevenly, leaving a ghost-like imprint that does not go away.
Common causes include channel logos, app icons, and on-screen buttons. You can reduce the risk by moving these static elements around. For your phone, trying smart layout ideas for your Samsung phone can help prevent burn-in from fixed icons.
A burn-in test helps you spot this damage early. By using simple test patterns, you can see if your screen has uneven wear. Catching it early lets you take steps to prevent it from getting worse.
In this guide, we will cover what causes burn-in, how to run a burn-in test, and practical ways to protect your display. You will learn simple habits to keep your screen looking great.
There is a lot to keep track of in tech today. If you want to stay on top of it all without the overwhelm, subscribe to The AI Newsletter Worth Reading. It gives you clear daily updates so you never miss what matters.
So what exactly is a burn in test? It is a simple checkup for your screen. You run special patterns on your display to see if any ghost images are hiding in plain sight. Think of it like taking a magnifying glass to your TV or phone screen to look for hidden damage.
A good burn in test uses different patterns to make uneven pixel wear obvious. You might see a full white screen, a gray background, or color blocks. If your display has burn in, those static logos or icons will show up as faint shadows on these test patterns. According to the screen burn-in guide from Newhaven Display, using a solid color background at full brightness is one of the best ways to reveal ghost images and uneven pixel wear.
Now here is the key part. Not every ghost you see is permanent damage. Sometimes your screen is just tired. This is called temporary image persistence. It looks like burn in, but it fades away after the display rests or shows different content. A proper burn in test helps you tell the difference. If the shadow disappears after a few minutes of varied content, it is just temporary. If it stays no matter what you watch, you are dealing with real burn in.
Knowing which one you have changes what you do next. For temporary persistence, running a pixel refresh cycle or lowering brightness can fix it fast. For real burn in, the damage is permanent, and prevention becomes your only real tool. That is why running a burn in test early matters so much. It stops you from wasting time on fixes that will not work.
You can find burn in tests on YouTube, in display diagnostic apps, or even built into some TVs and monitors. They are free and take just a minute to run. While you are checking your screen, it is also a good time to tidy up your home screen to reduce future risk. For example, you might want to learn how to change or hide the Samsung app drawer icon to keep static icons from sitting in the same spot for too long.
How Burn-In Differs From Image Persistence
Here is the simplest way to tell the two apart. Image persistence is temporary.
It shows up as a faint shadow after you have stared at a static image too long. But it fades after you use the display normally for a few minutes or let it rest. Burn in is not like that at all. It is permanent physical damage inside the pixels themselves.
On OLED screens, burn in happens when certain pixels wear out faster than others. This creates uneven aging that stays visible no matter what you watch. According to research on IPS panel burn in and image retention risks, permanent burn in does not fade even after extended use, calibration, or panel refresh routines. Image persistence fades. Burn in does not.
Why does this mix-up matter? If you panic over image persistence, you waste time on solutions you do not need. If you ignore early burn in thinking it will go away, you miss your chance to prevent worse damage. A simple burn in test clears up the confusion fast. It gives you a straight answer so you know exactly what you are dealing with.
Knowing the difference also helps when you shop for a new device. Different screen types handle static content differently.

For example, some people compare best Samsung tablet models partly based on display burn in risk and how they plan to use the device day to day.
Why Burn-In Happens: The Science Behind OLED and LCD Degradation
So why does burn in happen in the first place? It helps to understand what is going on inside your screen.
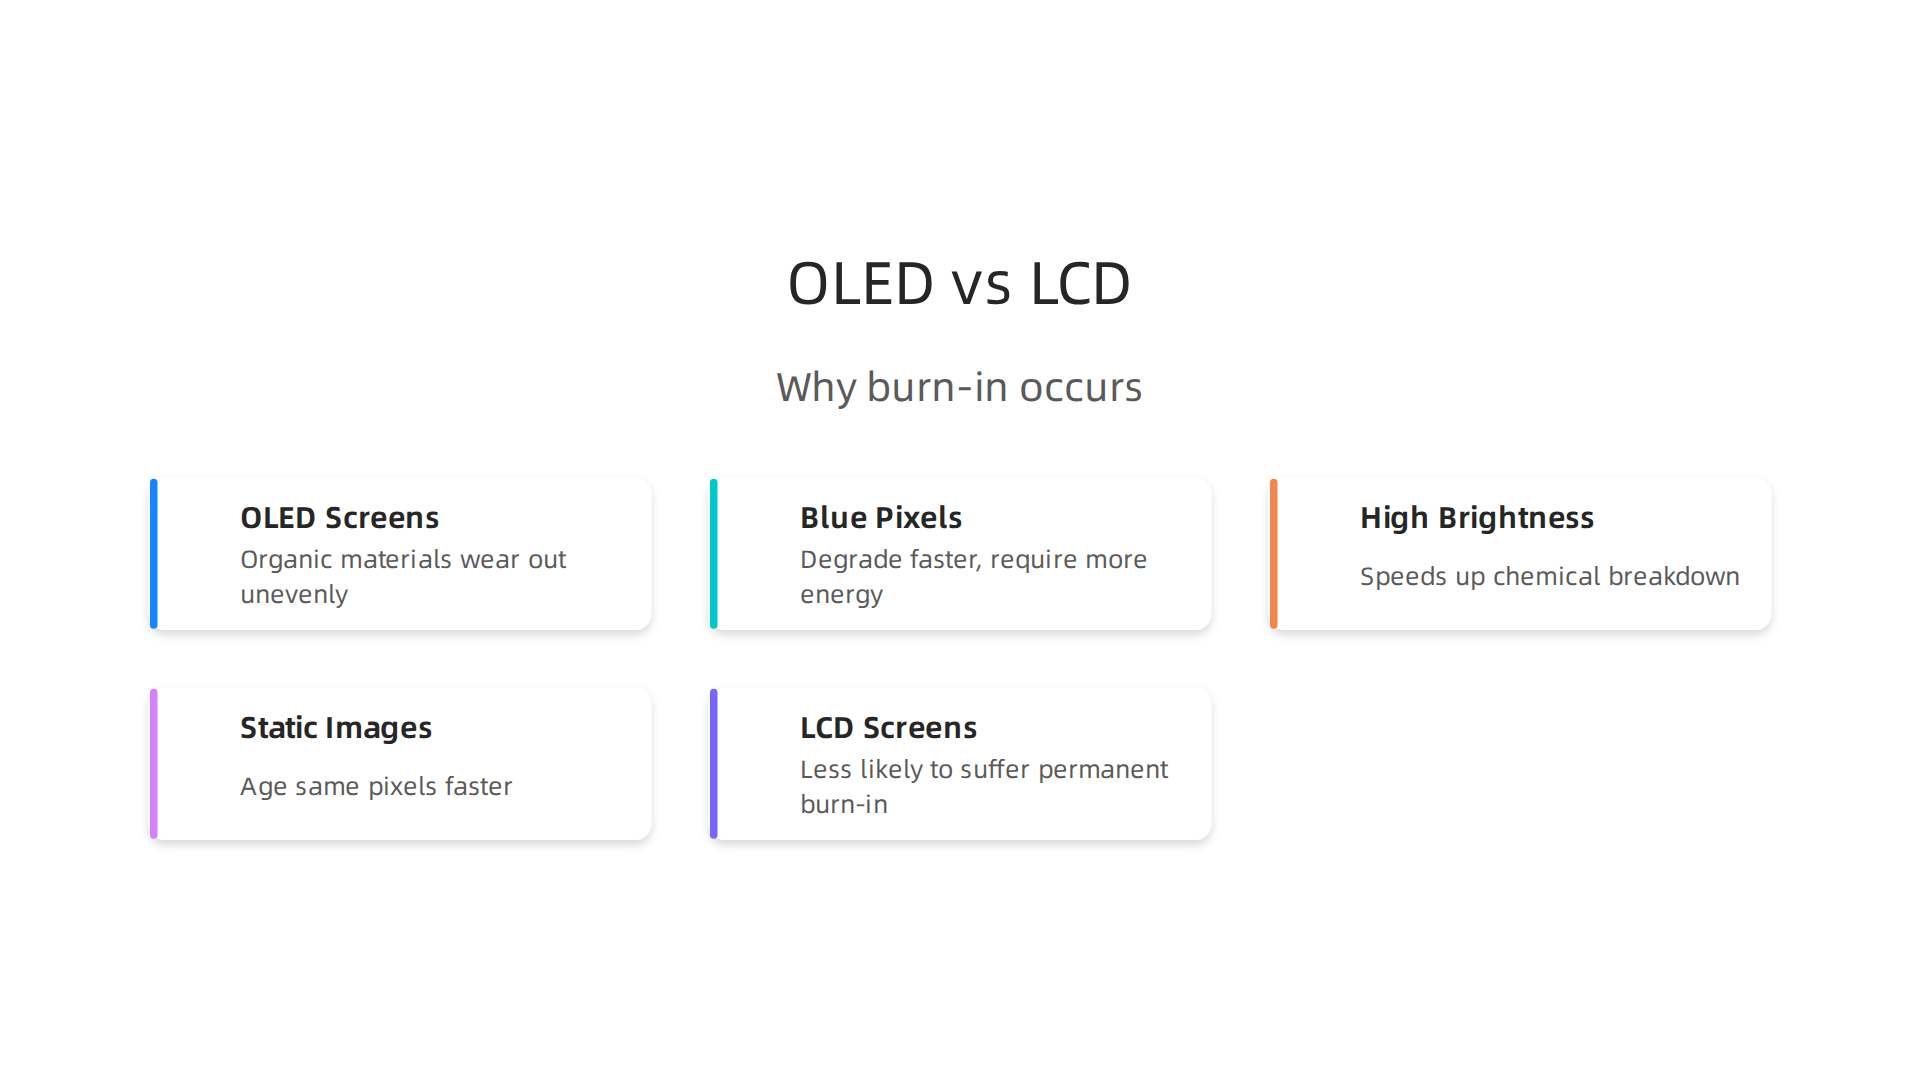
OLED stands for organic light emitting diode. Each pixel in an OLED screen is made of organic compounds that create light when electricity flows through them. Over time, those organic materials wear out. And here is the catch: they do not all wear out at the same rate.
Blue pixels degrade faster than red or green ones. This is because blue light requires more energy to produce. The extra stress causes chemical changes inside the pixel material. A helpful overview of OLED burn-in causes and pixel aging explains that the organic compounds break down under prolonged electrical stress, especially when they stay bright for long periods. The result is uneven wear across the screen. That is burn in.
High brightness makes this worse. More power equals more heat. More heat speeds up the chemical breakdown inside the pixels. And static images like a news ticker or a channel logo keep the same pixels lit all day long. Those pixels age faster than the rest of the screen.
LCD screens work differently. They use a backlight with liquid crystals that shift to let light through. Because the backlight is a single source and the crystals do not emit their own light, LCDs are much less likely to suffer burn in. They can still show temporary image persistence, but permanent damage is rare.
What does this mean for you? If you own an OLED phone, tablet, or TV, brightness and static content are the two things to watch. Running a simple burn in test every few months can catch early signs before they become permanent. And if you are shopping for a new device, it pays to know which models handle static content better. For example, some people look at how older iPhones still perform well as a sign of smart long term buying decisions.
Staying on top of tech trends helps you protect your gear and get the most out of every purchase. Get clear daily AI updates from The Deep View Newsletter so you always know what is changing and what matters for your devices.
OLED vs LCD: Which Is More Prone to Burn-In?
Now you understand the science behind burn in. The big question is which screen type you should worry about more.
OLED screens are much more prone to permanent burn in. The organic materials inside each pixel wear out unevenly. Over time, logos, menus, or news tickers can leave ghostly marks that never go away. This is especially true if you use high brightness or leave the same image on screen for hours.
LCD screens work differently. They use a backlight with liquid crystals that shift to let light through. Because the pixels don’t create their own light, they do not age unevenly the same way. LCDs can still show temporary image persistence. A shadow of a static image might hang around for a few minutes after you switch content. But as Wikipedia explains about LCD image persistence differences, this type of ghosting is almost always reversible. Permanent burn in on an LCD is very rare.
So which one is best for you? It depends on how you use your devices.
If you watch varied content like movies, shows, and games, an OLED screen will give you amazing color and contrast with little risk. Modern OLEDs include features like pixel shifting and logo dimming that help a lot.
But if you spend hours each day on the same apps with fixed menus or status bars, an LCD might be a smarter choice. Think about a tablet you use mostly for reading or browsing. If those apps have static headers, an OLED could develop burn in over time. Checking a tablet screen comparison before you buy can help you decide which display type fits your daily habits.
The bottom line? OLED wins on picture quality. LCD wins on burn-in safety.
How to Perform a Burn-In Test on Your Device
So you have a screen and you want to check for burn in. Or maybe you are thinking about buying a used phone or tablet. Running a quick test can give you peace of mind.
A burn in test is simple. You display solid colors, gradients, and grid patterns. Any leftover images will show up as faint outlines or patches of wrong color. The best part is you do not need any special equipment.
You have a few options for the test patterns. You can use free online tools that show full screen colors. Search YouTube for a "burn in test" video. These videos cycle through red, green, blue, gray, and white screens. There are also dedicated apps for both iPhone and Android that run the whole test automatically.
Here is how to do it right. First, clean your screen so no smudges interfere. Turn off auto brightness and set the brightness to your normal everyday level. Go into a dark room. This helps you see any ghostly marks that might be hidden in a bright environment.
Then play the test pattern and look closely. Pure red, green, and blue screens are great for spotting uneven wear. Gray screens often show subtle burn in that other colors hide. Move your eyes across the whole display. If you see a shadow of a status bar, a logo, or a menu that does not belong, that is burn in.
If you do not see anything, your screen is healthy. If you do see marks, they might be permanent, especially on an OLED screen. You can try using a pixel refresh tool if your device has one, but do not expect a full fix.
A tip for bargain hunters: if you are buying a used tablet like a Samsung Tab A, also check the IMEI to make sure it is not stolen. And before running the test on an older device like a Samsung J7, install the latest software update for best results. Finally, use Google Find My Device on Android to keep your device secure after you buy it.
Running this test only takes a couple of minutes. It is one of the easiest ways to spot screen problems early.
Step-by-Step Guide for TVs, Monitors, and Smartphones
Now let us break it down by device type. Each screen has its own quirks, and knowing what to look for makes all the difference.
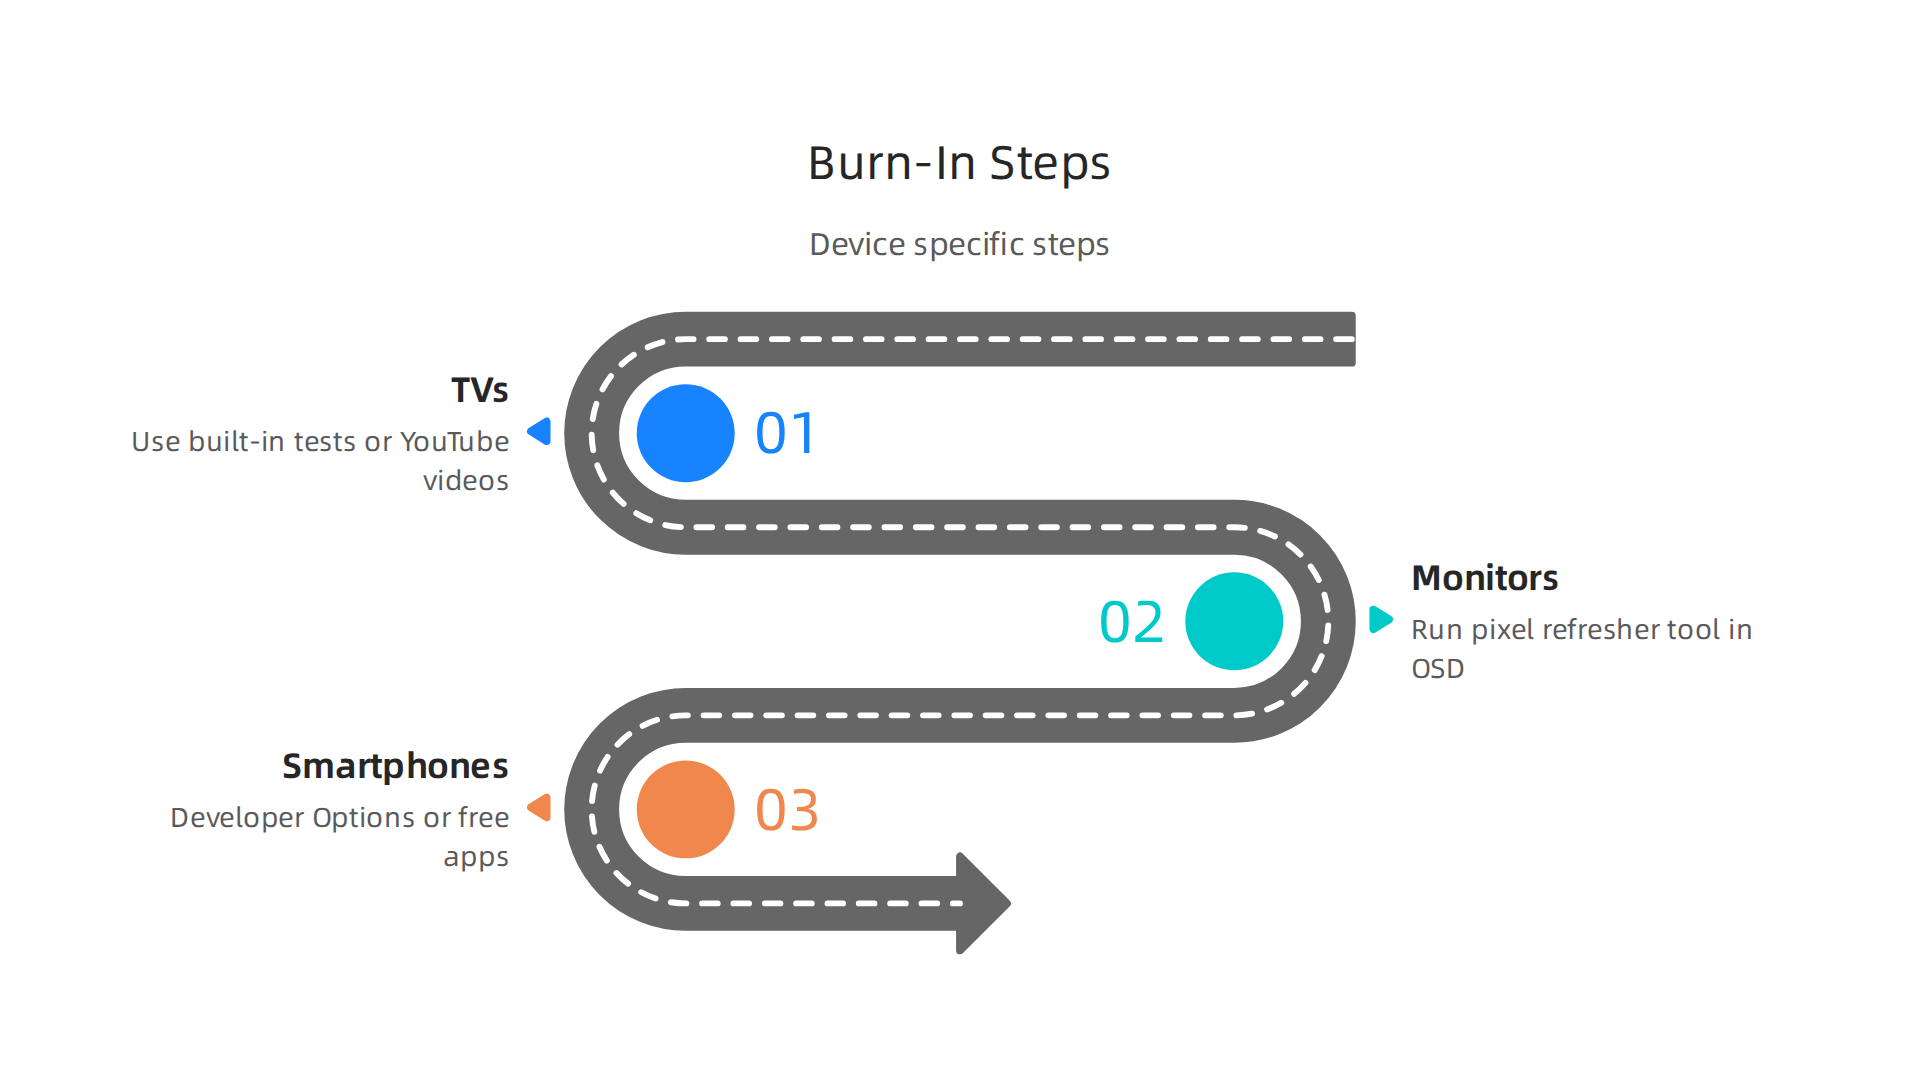
For TVs
Start with the built in test patterns if your smart TV has them. Many modern Samsung, LG, and Sony models hide color and gray scale tests inside the support menu. You can also stream a free burn in test video from YouTube. Play pure red, green, blue, and gray screens at your normal brightness. Go into a dark room and stand close to the screen. Look for uneven discoloration or faint outlines of channel logos, news tickers, or game HUDs. Those shadows are burn in.
For Monitors
Test your computer monitor the same way with solid colors and gradient patterns. The real difference comes after the test. Most monitors have a pixel refresher tool inside the on screen display menu. Run it even if you see nothing wrong. It helps clear temporary image retention. Pay close attention to gray screens. Ghosting of your desktop taskbar or browser tabs means the screen is starting to wear.
For Smartphones
Smartphones have hidden shortcuts. On Android, enable Developer Options by tapping "Build Number" seven times in Settings. Look for a display test mode or a burn in protection toggle. On an iPhone, you do not get a hidden menu, but a free app or YouTube video works just as well. Even the latest iPhone models can develop burn in over time. OLED screens on phones show burn in most clearly on a gray background at low brightness. Tilt the phone at different angles to spot faint marks.
If you catch burn in early on a phone, a pixel refresh cycle might help. On an OLED TV or monitor, burn in is almost always permanent. The best strategy is prevention. Avoid keeping static images on screen for hours.
Interpreting Burn-In Test Results: What the Patterns Mean
So you ran your burn in test and now you see things on the screen. That can be scary.
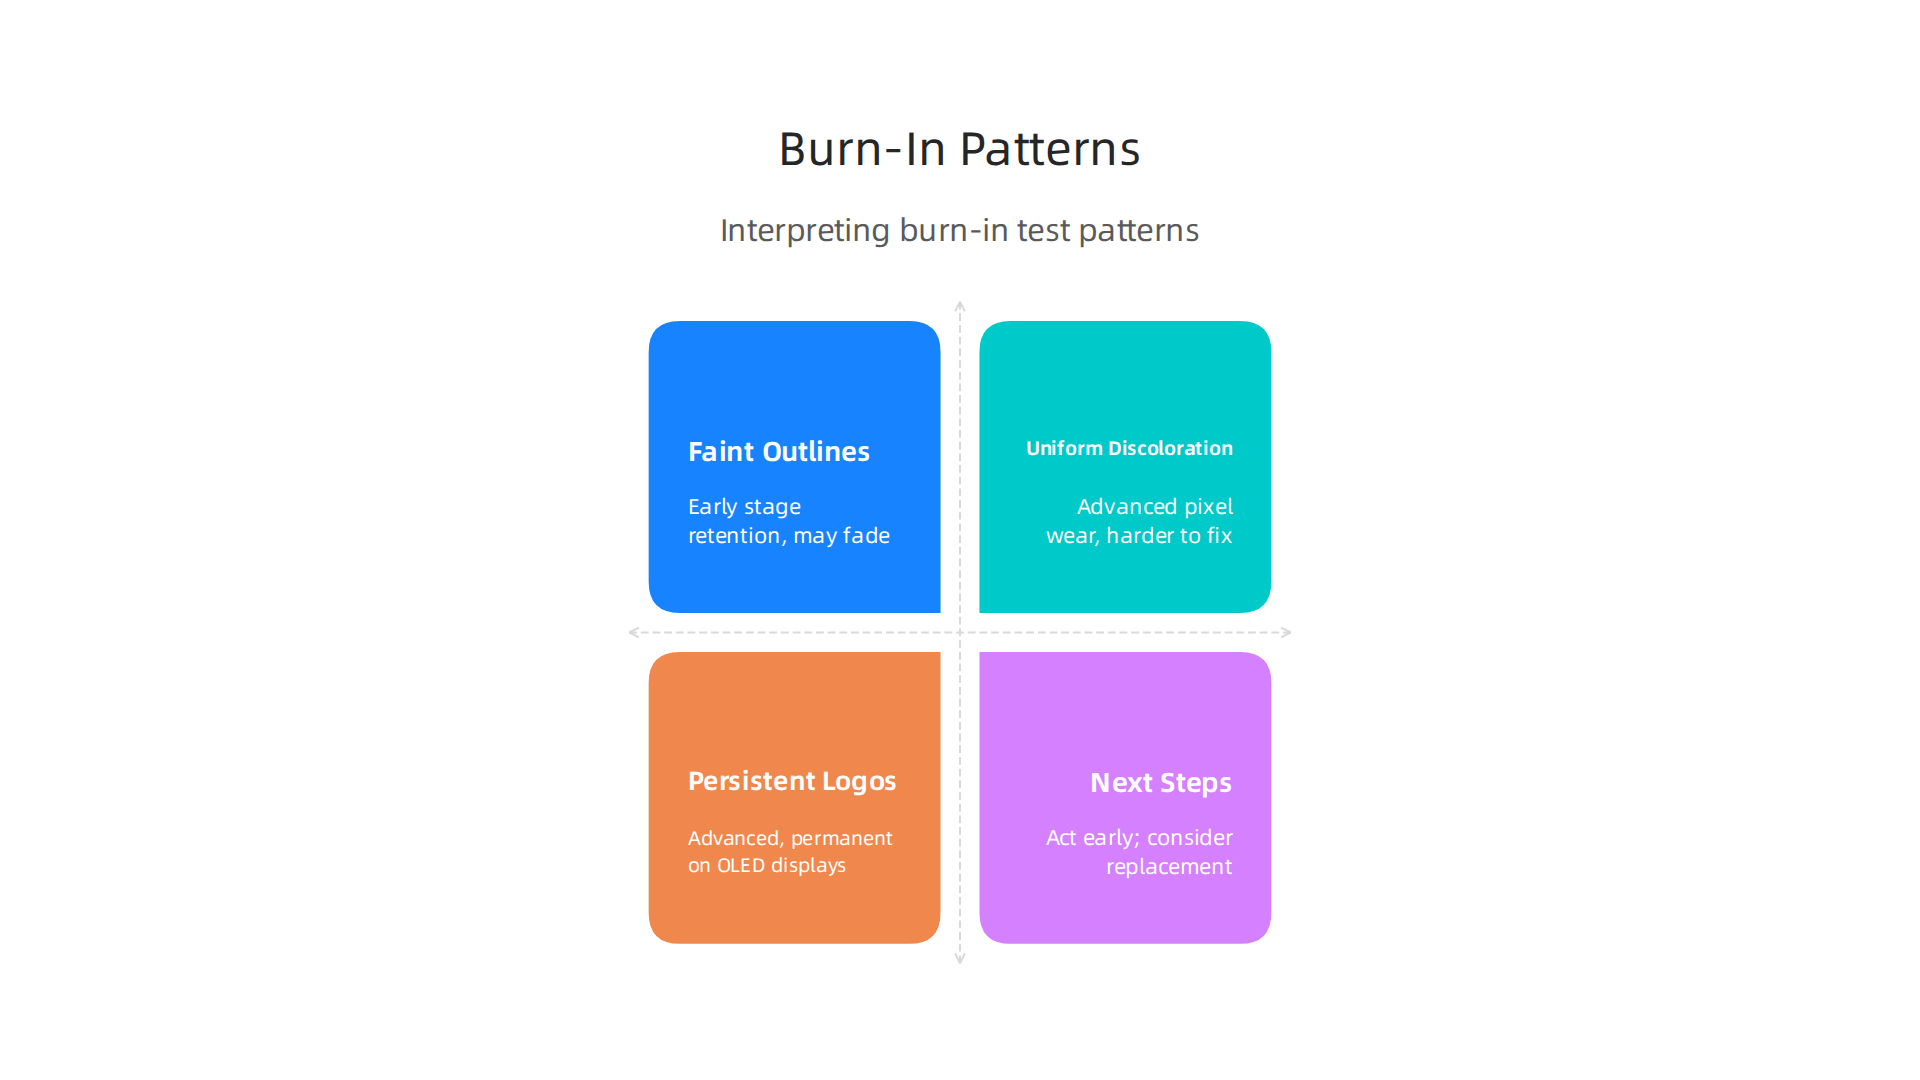
But not every mark means your display is ruined. Let us break down what the patterns actually tell you.
Faint outlines or ghost images. This is the most common early finding. You might see a soft shadow of a news channel logo, a game HUD, or your phone status bar. On a solid gray or red background, these shadows look like light stains that just will not go away. According to the OLED screen burn test guide, faint ghosting means early stage retention. It is not permanent yet. Try running a pixel refresh cycle on your device. Then test again in a day. If the shadow fades, you caught it in time. If it stays, you have permanent burn in.
Uniform discoloration or color shifting. This looks different. Instead of a specific logo, whole areas of the screen look washed out or tinted. A patch of gray might look slightly pink or green compared to the rest of the display. This type of screen burn in causes and early signs point to more advanced pixel wear. The affected pixels have degraded unevenly over time. This is harder to fix. At this stage, you are likely looking at permanent damage that will only get worse.
Persistent logos or UI elements. If you see a clear afterimage of a menu bar, taskbar, or app icon even on a black screen, that is advanced burn in. The pixels in those zones have worn out much faster than the rest of the panel. This is almost always permanent on OLED displays. The burn in will become more visible over months of normal use.
What to do next. If your test shows no issues at all, great. Keep using screen savers and avoid static content for long stretches. If you see only faint ghosting, run a pixel refresh and adjust your brightness settings down a notch. For advanced discoloration or persistent logos, you have a decision to make. You can live with it if it only shows on certain colors. Or you can start looking at a replacement panel. Even an older device like a good refurbished iPhone 15 can still serve you well if the burn in is mild and only visible on test patterns.
The key is knowing what you are looking at. A faint shadow is a warning. A uniform color shift is a sign of aging. A stuck logo is the final stage. Test every few months and act early. That is the best way to keep your screens looking good for years.
Top Burn-In Test Tools and Software (2026)
Now you know what those patterns on your screen mean. The next step is running a test yourself. Luckily, you have plenty of options to check for burn in. Here are the best tools available in 2026, from free apps to professional software.
Free tools for quick checks. The easiest way to start is with a free burn in test app. Look for tools like "LCD Burn-In Test" or "BurnIn Test" in your app store. These show you solid color screens one at a time. You can cycle through red, green, blue, gray, and white to spot any ghosting or discoloration. Most of these apps are simple and work on phones, tablets, and smart TVs. They take less than a minute to run. If you see anything unusual, you caught it early.
Professional software for deeper analysis. If you want more control, professional burn in testing software gives you advanced patterns and logging. You can run moving color bars, grid patterns, and gradient sweeps. Some tools even track how long each test runs and save the results. This helps you compare your screen over weeks or months. Professional testing follows similar principles to the Burn-In Testing 101 process used in manufacturing, where stress conditions reveal weak spots. For your display, advanced software highlights even faint pixel wear that free apps might miss.
Built-in diagnostic modes on modern TVs. Many newer TVs from Samsung, LG, and Sony include a pixel refresher or diagnostic test right in the settings menu. Check under Support or Device Care. These built-in tools can run a quick burn in test and sometimes even fix minor image retention automatically. They are the safest option because they are made for your specific screen. Running them once a month is a good habit.
No matter which tool you pick, testing regularly is the best protection. Free apps catch problems early. Professional software gives you detailed data. Built-in diagnostics offer a no-risk check. Pick one and run it today. Your screen will thank you. For daily updates on the latest tech tools and trends, check out The AI Newsletter Worth Reading.
How to Fix and Prevent Screen Burn-In
You have tested your screen and hopefully found no burn in. But how do you keep it that way? And what should you do if you already see a ghost image? Let’s walk through the best prevention tips and your limited options for fixing permanent damage.
Prevention starts with simple habits. The easiest way to avoid burn in is to keep your screen safe from the start.

Lower your brightness when you can. Use a screen saver that moves or turns off after a few minutes. Change what you watch or work on regularly. Static images like news tickers, game HUDs, and logos are the biggest causes. Try to avoid leaving the same thing on screen for hours. For more tips, check out these OLED burn-in prevention best practices from the experts.
Device features can help. Many modern TVs, monitors, and phones come with built-in protections. Pixel shifting moves the image slightly so no single pixel wears out too fast. Compensation cycles run automatically when the screen is off to even out brightness. These features are not perfect, but they make a real difference. If you are shopping for a new device, look for models with these tools. For example, our roundup of the best Samsung tablet 2026 includes tablets that use pixel shift technology to protect their displays.
What if burn in is already there? Here is the hard truth. Once burn in is permanent, you cannot fix it. No app, video, or setting will bring those pixels back. The only solution is to replace the display panel. That can cost as much as a new device. This is why screen burn-in cannot be removed after it sets in. Your best move is to catch it early with regular testing and change your habits before it gets worse.
Prevention is simple and free. Lower brightness. Vary your content. Use screen savers. Let your device run its pixel refresh cycles. Your screen will last much longer and you will avoid the headache of a costly replacement.
The Future of Burn-in: New Display Technologies and Mitigation
But display makers are not resting. They are working on new technologies to make burn-in a thing of the past. In 2026, we are seeing real progress.
QD-OLED and MicroLED are leading the way. Newer QD-OLED panels are much more resistant to burn-in than early models. A long-term QD-OLED burn-in test showed only a 2% brightness drop after 5,000 hours of heavy use. That is a huge improvement. MicroLED is even more promising. It uses tiny self-emitting LEDs that do not rely on organic materials. This means they should never burn in. But MicroLED is still very expensive and hard to mass produce. So it will take a few more years before it becomes common in TVs and monitors.
AI is getting smarter about protecting your screen. New display controllers use AI algorithms to adjust brightness and pixel usage in real time. They can detect static logos or taskbars and dim them slightly without you noticing. This is a lot like the pixel shifting we talked about, but much more advanced. These AI-driven dynamic brightness technologies are already appearing in high-end monitors and TVs. They take the guesswork out of prevention.
Testing standards are getting better too. In the past, burn-in tests were not always consistent. Now, industry groups are creating standard tests that mimic real-world use. This helps consumers compare how different screens hold up over time. You can trust that a product with a good burn-in test score will last longer.
For more on how technology is evolving, check out our look at Elon Musk’s 2026 tech empire to see how innovation is reshaping every corner of consumer tech.
And if you want to stay ahead of fast-moving tech trends like these, subscribe to The AI Newsletter Worth Reading. It brings you clear daily updates on AI and technology so you never miss what is next.
Summary
This article explains screen burn-in: what it is, how it happens, and why OLED displays are most at risk. It shows how to run easy burn-in tests (solid colors, gray screens, and grid patterns) on TVs, monitors, and smartphones so you can spot ghost images early, and it distinguishes temporary image persistence from permanent burn-in. You’ll learn device-specific steps—what to check on TVs, monitors, and phones—how to interpret faint shadows versus uniform discoloration, and which fixes (like pixel refresh) are realistic. The guide also lists the best free and professional testing tools available in 2026 and practical habits and built-in features (pixel shifting, dimming, lower brightness) to prevent damage. Finally, it covers the limits of repair—why advanced burn-in is usually irreversible—and points to upcoming display tech and AI-driven protections that reduce future risk.